Mouth Guards Direct

How it works

DIY Impression Kit

Same dental office process without the hassle and expense

Easy At-Home Impression Kit

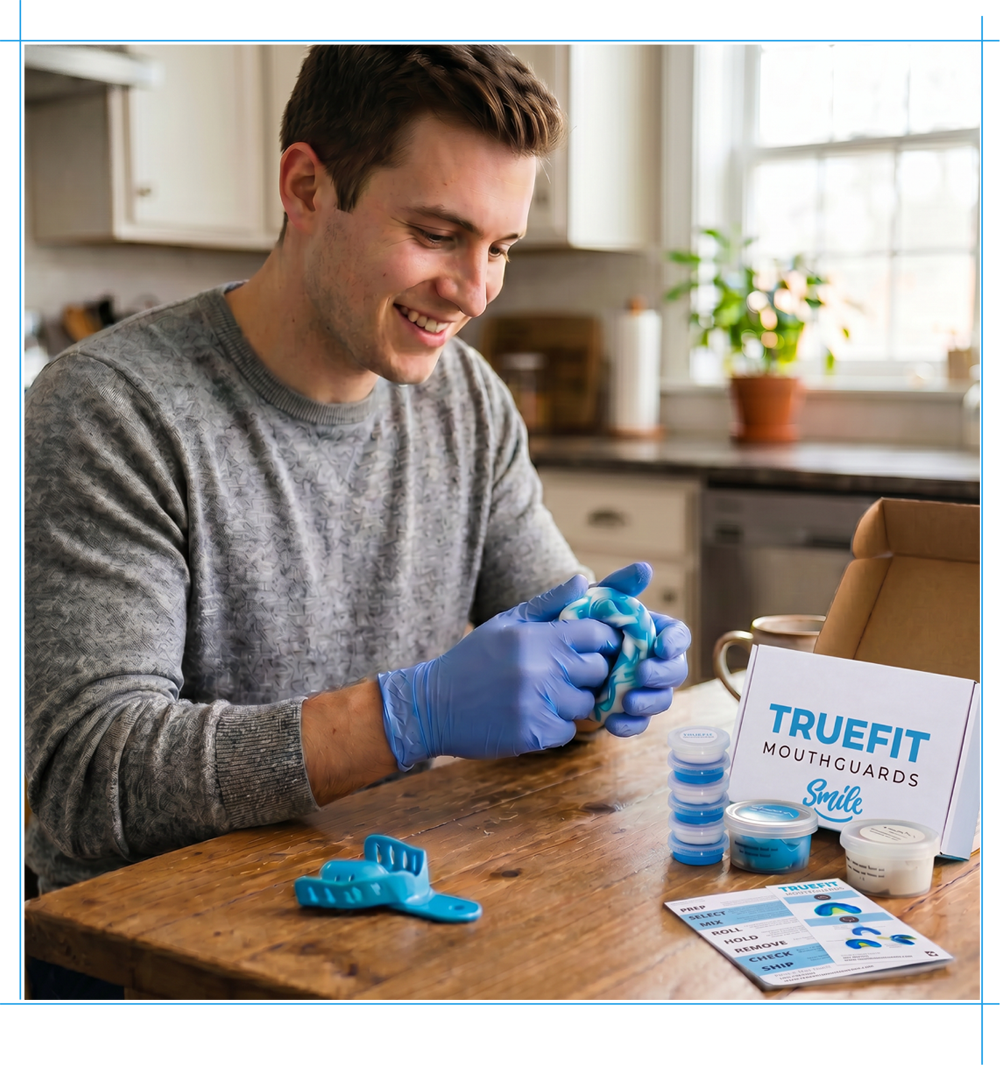
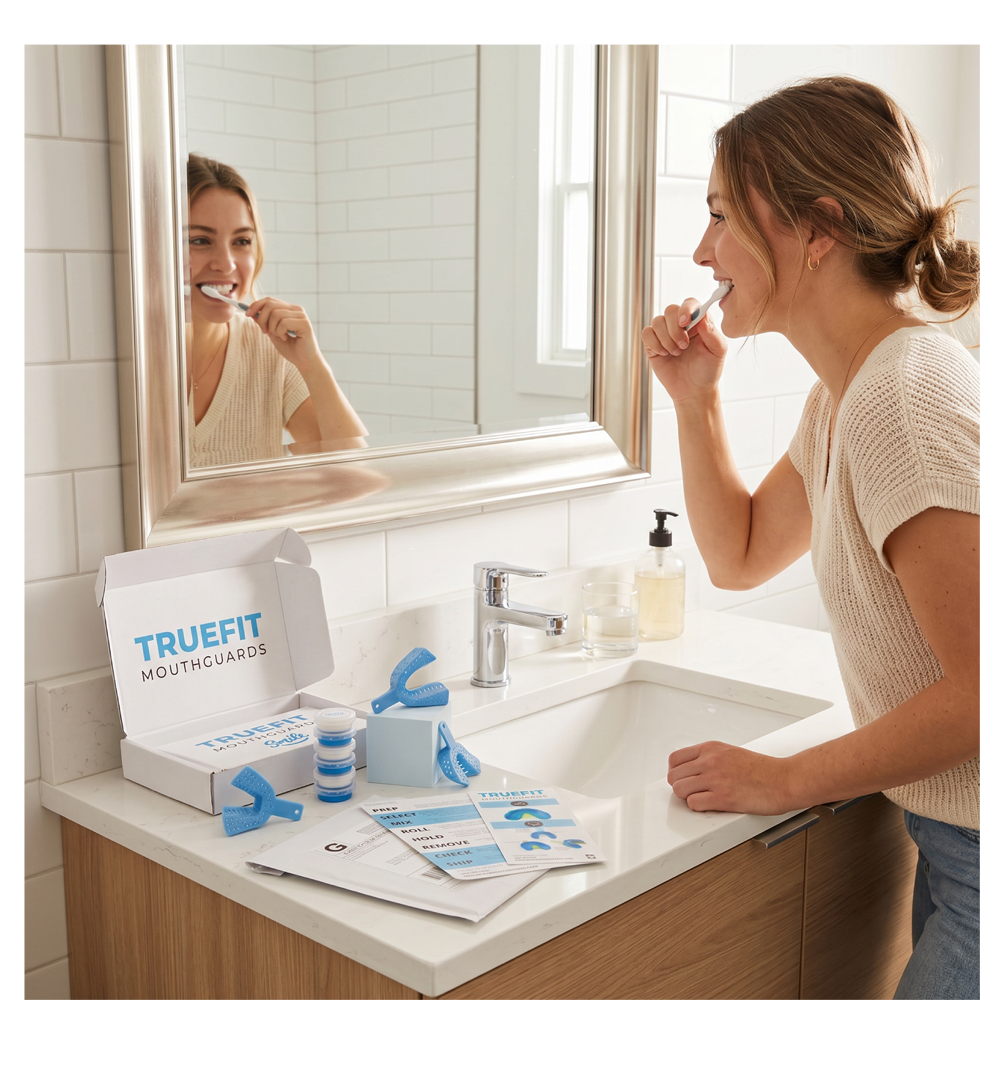
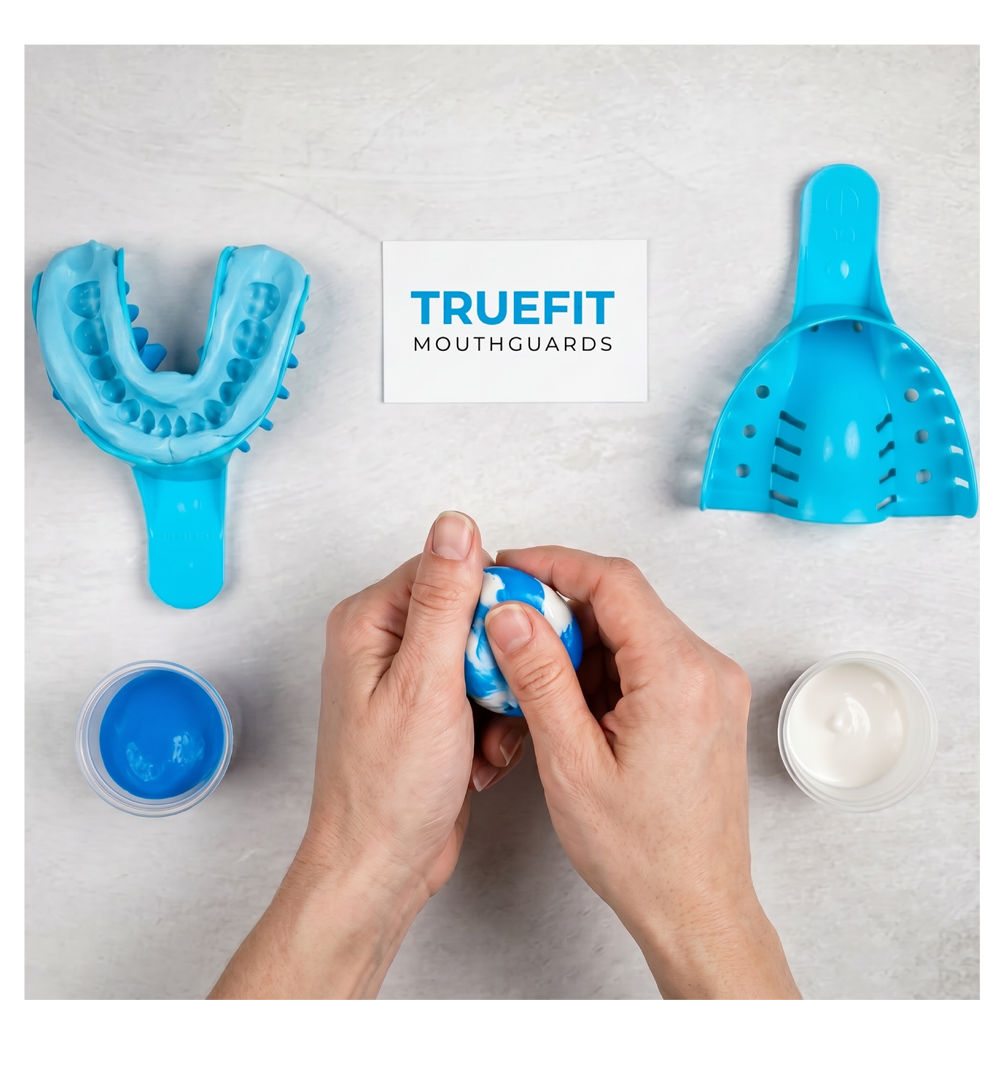
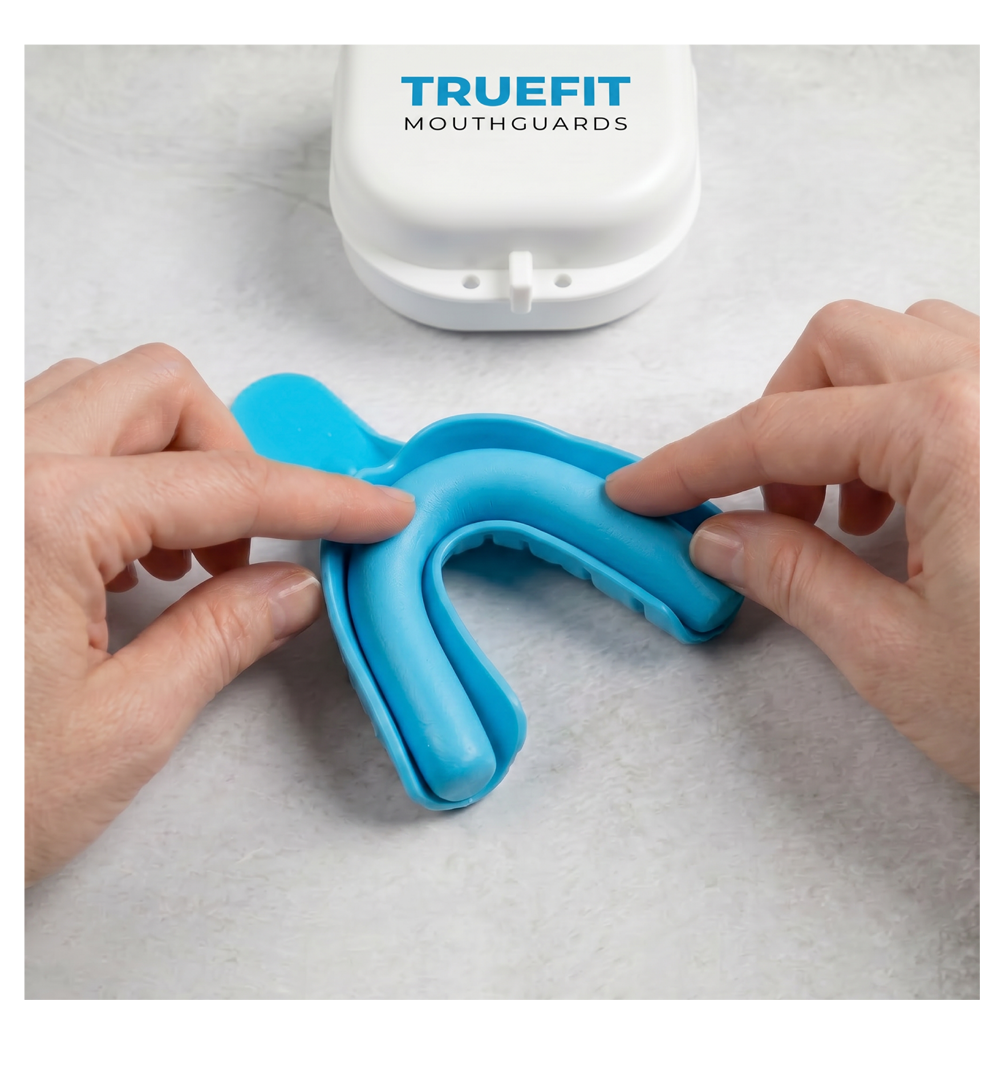
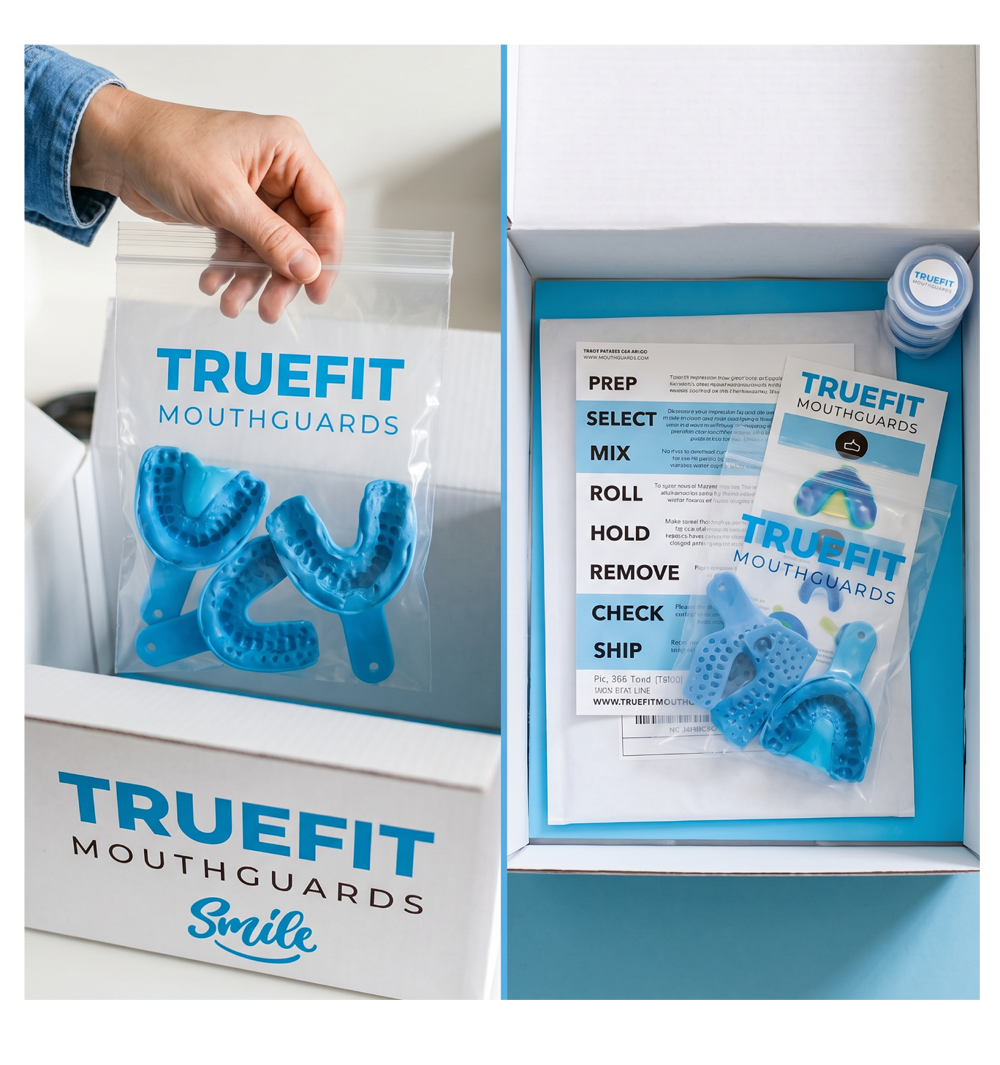
Getting started is simple. When your kit arrives, follow the included step-by-step instructions to take your dental impressions and send them back to us.


The entire process takes about 5 minutes, allowing you to receive a custom-made night guard, sports guard, retainer, or whitening tray without a trip to

1

Read instructions all the way through and watch our How It Works video

2

Have a timer ready and carefully follow the timing instructions provided to ensure accurate impressions.

3

Wash hands and brush your teeth

4

Test the placement of each mouth tray provided in your kit and select the one that fits best.

5

Mix the white and blue putty together for 40-60 seconds. Use a folding and kneading technique until the white is fully blended.

6

Using the palms of your hands, roll the putty mixture into a hotdog-like shape.

7

Place the putty in the mouth tray and adjust it with your fingers until it covers the tray evenly.

8

Insert mouth tray and slowly submerge all teeth into the putty.

9

Start 3-minute timer — leave teeth submerged in putty for 3 full minutes.

10

Slowly remove the mouth tray, give it a quick rinse, and very gently pat it dry.

11

All set! Just mail it back to us and we'll create your custom mouthguard with our TrueFit process!